Dental Implant Surgery: What Happens in the Operating Room
Jump to Section:
For patients considering dental implants, the idea of surgery often brings up a mix of curiosity and anxiety. Knowing exactly what happens in the operating room can make the process feel much more manageable—and even exciting—once you understand how precise, gentle, and well-planned it really is.
At Today’s Dental Grande Prairie, implant procedures are designed to be smooth, comfortable, and highly predictable. In this article, we walk you through each part of the dental implant surgery process, from anesthesia to post-op care, so you know exactly what to expect the day your new smile begins.
Pre-Surgical Planning: Where Predictability Starts
Before stepping foot into the treatment room, every patient undergoes extensive diagnostic work. This includes high-resolution 3D CBCT imaging, digital scans, and a thorough review of your health history.
These tools help your dentist map out the exact implant position, angle, and depth. It also allows for precise assessment of bone quality. In some cases, bone grafting may be completed weeks or months in advance to prepare the site. If you’re unsure what bone grafting involves, visit our article on why bone grafting may be necessary.
The Surgical Environment
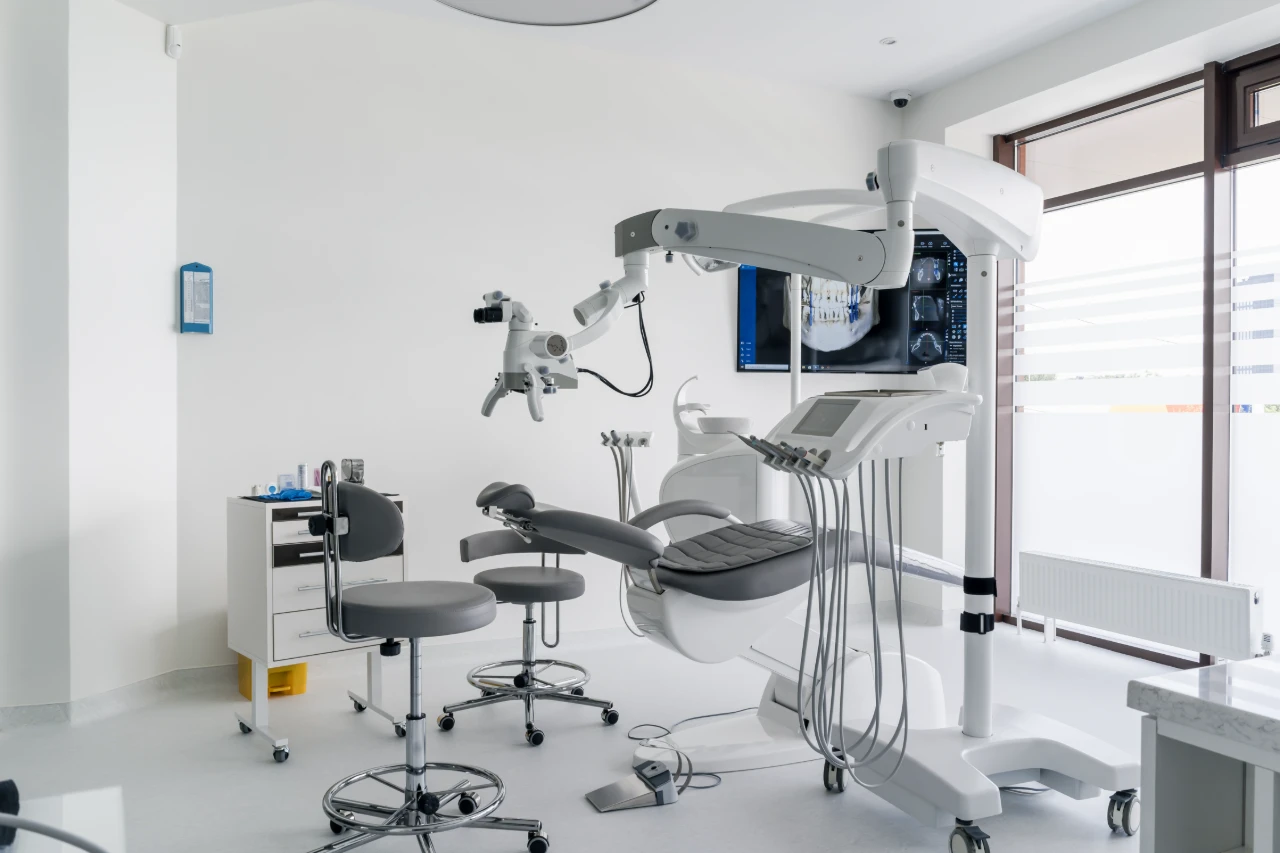
On the day of your dental implant surgery, you’ll be taken into a clean, sterile treatment room that’s been prepared specifically for the procedure. Dental implant surgery isn’t performed in a hospital operating room—it takes place in a private dental operatory equipped with the necessary surgical tools, suction systems, and digital monitors.
Everything from lighting to instrument layout is designed to allow your dentist and assistant to work efficiently and safely. Modern dental offices, including ours, follow strict infection control protocols recommended by national health authorities like the Canadian Dental Association and Health Canada.
Step 1: Anesthesia and Sedation
Before the procedure begins, your dentist will administer local anesthesia to completely numb the area. You won’t feel any pain—just gentle pressure or movement. For patients who feel nervous, we also offer sedation options to help you relax. These may include oral sedatives or IV sedation, depending on your needs and health profile.
Your vital signs, including oxygen levels and blood pressure, are monitored throughout to ensure your comfort and safety.
Step 2: Accessing the Bone
Once the area is fully numb, a small incision is made in the gum tissue where the implant will be placed. This exposes the underlying bone. Depending on your anatomy, a small flap may be lifted, or a punch technique may be used, especially if you’re receiving a single tooth implant.
This part of the procedure is delicate but relatively quick. The goal is to gain clean, visible access to the implant site with minimal disruption to surrounding tissue.
Step 3: Creating the Implant Site
Using a specialized dental drill, your dentist carefully creates a small channel in the bone. This is done slowly and incrementally, with the drill moving through a series of sizes to match the dimensions of your implant post.
Throughout this process, saline or sterile water is used to cool the area and prevent heat buildup, which could affect the bone’s ability to heal. This step is often completed in just a few minutes thanks to the planning and precision of modern guided implant techniques.
Step 4: Placing the Implant Post
With the site prepared, the titanium implant post is placed into the bone using a gentle, controlled torque. Once seated correctly, the implant may be checked for primary stability, which refers to how firmly it sits in the bone. Adequate stability is critical for long-term success and for determining whether a temporary crown can be placed the same day.
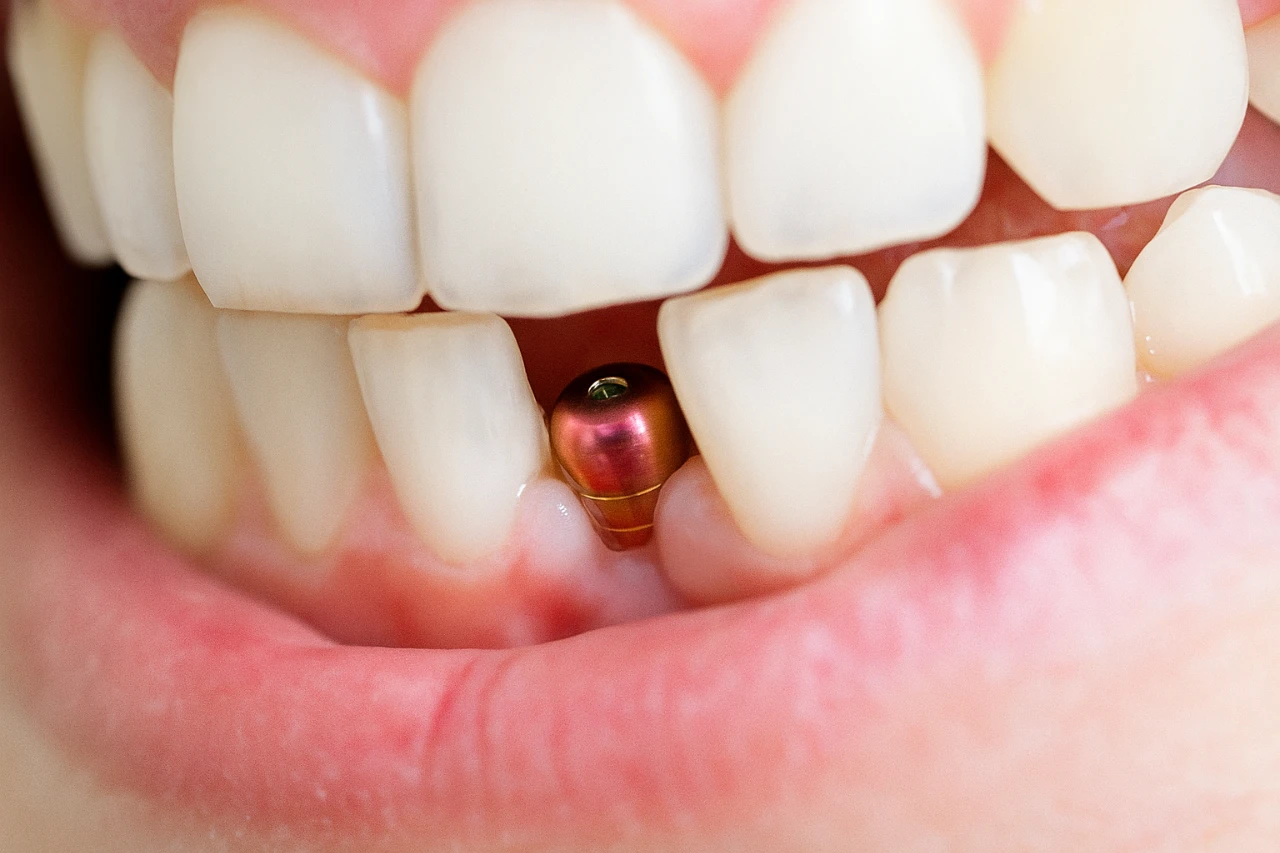
If needed, a healing cap or cover screw is secured over the implant, and the gum tissue is repositioned and sutured around or over it. In certain cases, like immediate loading with All-on-4 implants, a temporary prosthetic may be placed the same day.
Step 5: Suturing and Dressing
Once the implant is in place, your dentist will close the incision site with dissolvable sutures. These help the tissue heal neatly while keeping the area protected. A sterile gauze dressing may be applied, and you’ll be given instructions on how to bite down gently to control initial bleeding.
If you’re receiving multiple implants or undergoing additional procedures like sinus lifts, the approach may be slightly modified, but the principles remain the same—precision, cleanliness, and patient comfort.
Step 6: Recovery Room and Aftercare Instructions
After surgery, you’ll be moved to a recovery chair to rest while the anesthesia begins to wear off. Most patients feel alert and are able to walk out of the clinic with the help of a friend or family member within 15–30 minutes.
You’ll receive a printed and verbal list of aftercare instructions that include:
-
How to clean the area
-
What to eat (and avoid)
-
When to take pain medication or antibiotics
-
How to recognize any warning signs
Our team follows up with patients after implant surgery to make sure healing is progressing as expected. You’ll also return in 1–2 weeks to assess gum healing and remove any sutures that haven’t dissolved naturally.
What Comes Next?
After the initial healing, a period of 3–6 months is typically needed for osseointegration—the biological process where the bone fuses with the implant. During this time, your body is creating a strong anchor that will support your future crown or bridge.
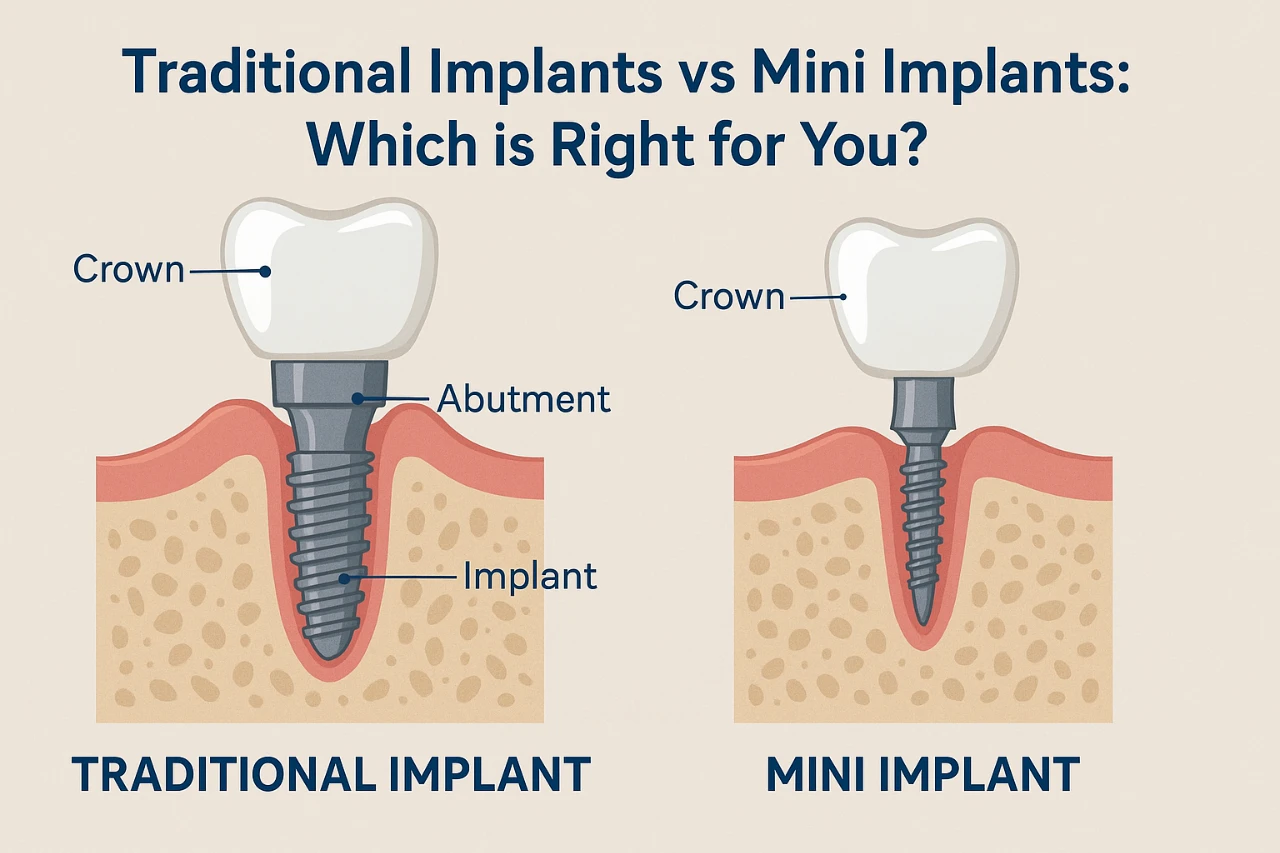
Once healed, your implant will be uncovered (if it was buried), and we’ll place the abutment and final crown. Learn more about that process in our guide to how long dental implants last.
Why Experience and Technology Matter
Dental implant surgery is as much an art as it is a science. Choosing a dentist who is experienced, uses digital imaging, and practices evidence-based protocols significantly improves outcomes.
At Today’s Dental, our implant procedures are fully guided, which means we use advanced software to pre-plan every angle and depth. This results in a more comfortable procedure and a stronger long-term result.
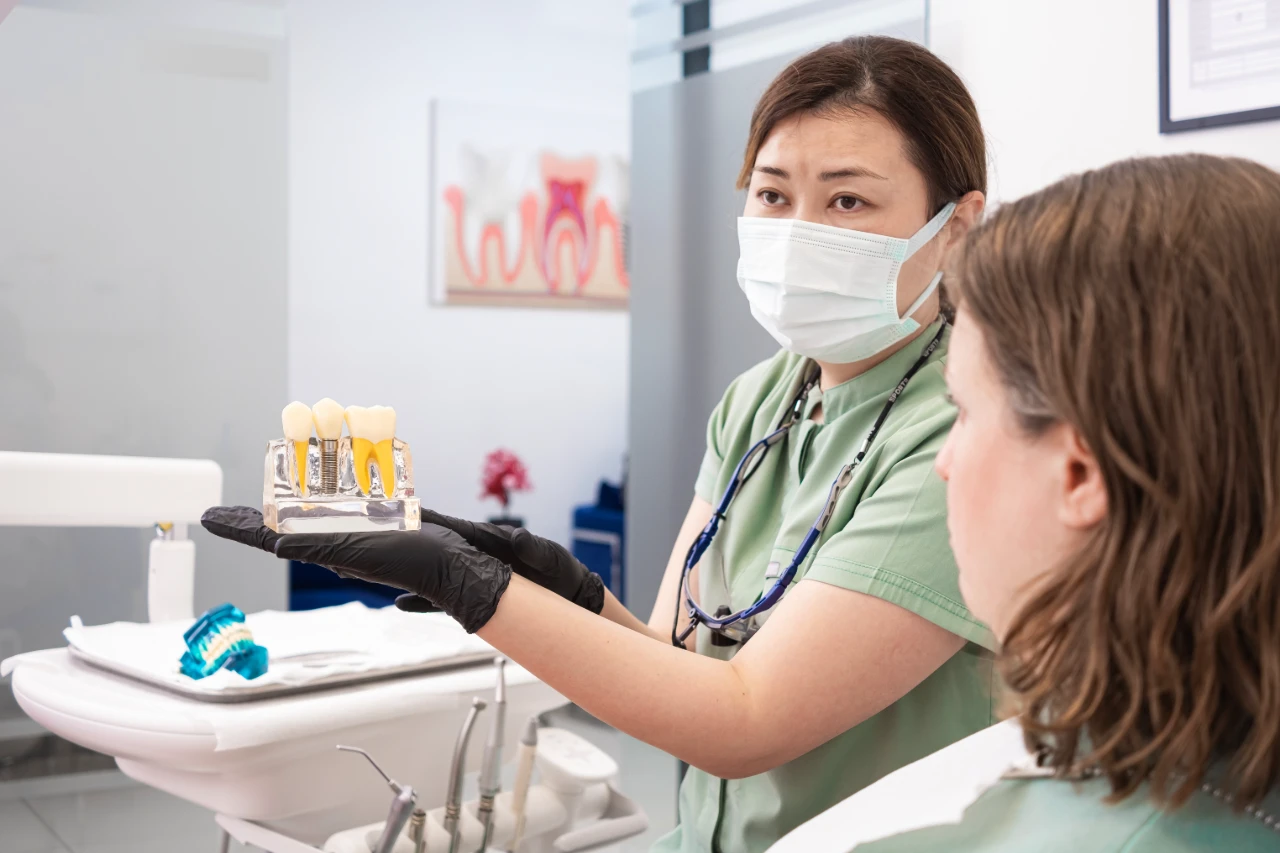
Our team also explains each step of the journey in plain language. Whether you’re replacing one tooth or several, we want you to feel informed and confident about the process from beginning to end.
Internal Support and Continued Care
The success of a dental implant doesn’t end with surgery. After the implant is placed, regular hygiene visits and great at-home care help protect it for years to come. Visit our post on implant failures and what to expect to learn more about how we help patients stay on track, even if challenges arise.
If you’re comparing full-arch solutions, you may also want to explore the difference between All-on-4 and 3-on-6 implants, or explore the pros and cons of implant materials like titanium.
Key Takeaway
Dental implant surgery is a straightforward, well-controlled procedure performed every day at Today’s Dental Grande Prairie. From precision planning and gentle surgical techniques to long-term monitoring and care, we make sure every patient feels comfortable, safe, and informed every step of the way.
If you’re ready to take the next step toward a confident, permanent solution for missing teeth, we’re here to help. Book a consultation and let’s talk about whether dental implants are right for you.